
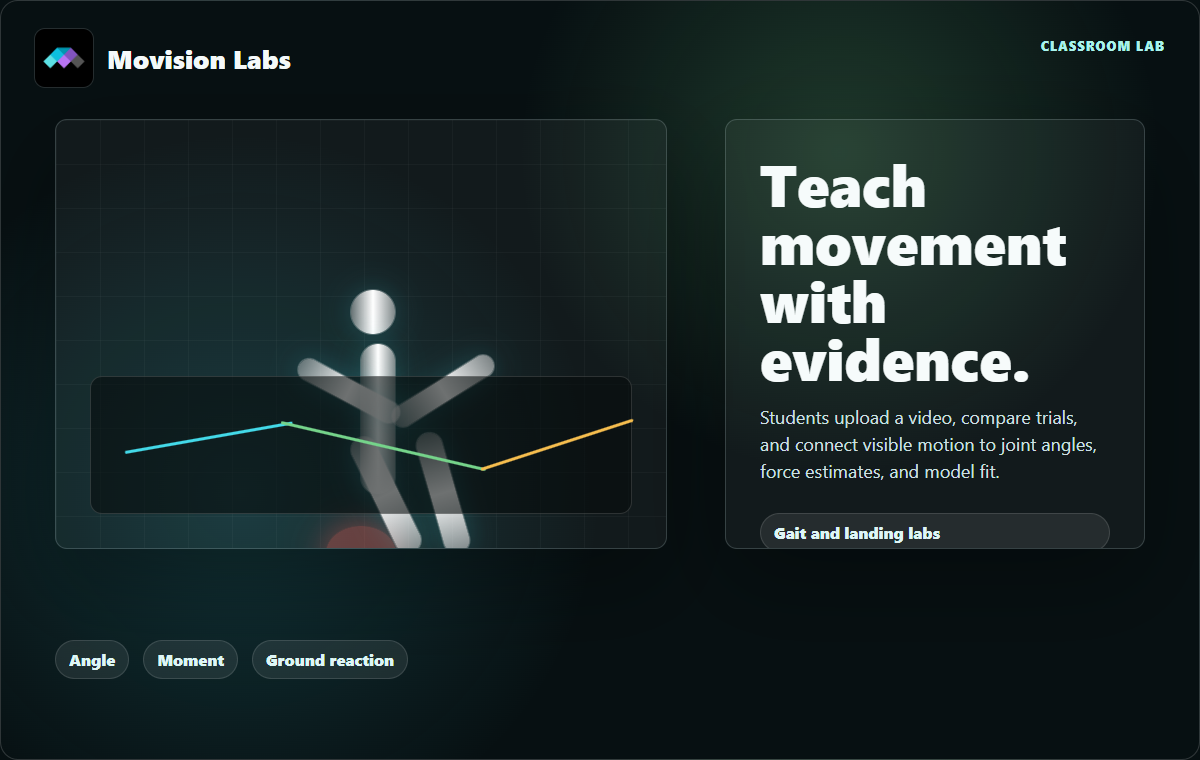
Video-based biomechanics is powerful because it lets students connect what they see to what they measure. A knee angle is no longer an abstract number. It is the shape of a landing, a squat, a step, or a push-up. The role of the instructor is to help students move from observation to evidence without pretending the model is perfect.
Start with one question
The best lab prompt is narrow. Instead of asking students to analyze everything about a movement, ask a question that can be answered with one or two signals.
- How does knee flexion change between a shallow squat and a deeper squat?
- Does hand position change elbow loading during a push-up?
- How does balance strategy change when a foot is supported on an unstable surface?
- When does the selected signal reach its peak relative to the visible movement?
Capture a clip students can trust
Video quality is part of the measurement. Have students record the full body, keep the camera stable, avoid heavy blur, and keep important joints visible. A markerless system can estimate landmarks from ordinary video, but poor visibility still affects the signal.
Use the app in three passes
1. Visual fit
Students first look at the overlay. Does the mesh follow the trunk, head, arms, and legs? Does the model drift during fast movement? Are any segments hidden or poorly estimated?
2. Signal review
Next, students select a single visible movement signal. They identify the minimum, maximum, mean, and timing of the peak.
3. Export and explain
Finally, students export the signal and write a short interpretation: what changed, when it changed, and what confidence they have in the result.
Assessment ideas
Grade students on the reasoning, not just the number. A strong submission should include the movement question, a screenshot of model fit, a plotted signal, one quantitative comparison, and a limitations paragraph.
- Beginner: identify a peak and describe what the body was doing at that moment.
- Intermediate: compare two trials and discuss timing or asymmetry.
- Advanced: compare two exported signals and explain whether they answer the same movement question.
Match the lab to the learning level
Beginner labs work best when the prompt is deliberately narrow. Ask students to select one signal, export it, and explain it well. This keeps the assignment focused and prevents them from drowning in variables they do not yet understand.
Intermediate labs can compare two trials, two participants, or two recording conditions. At that stage, students can start to discuss timing differences, asymmetry, or the relationship between the overlay and the graph.
Advanced labs can connect multiple exported signals, explain methodological limits, and compare what the model-derived outputs do and do not support.
Discussion prompts that work well
- Which frame best explains the maximum value in your plot?
- Which body segment had the weakest tracking quality, and how could that affect your conclusion?
- If you repeated the trial, what camera or movement change would improve the data?
- Which variable would you choose next to support or challenge your first interpretation?
Why this works as a course tool
Students want to see themselves or real examples, not only textbook diagrams. Educators want a repeatable lab that does not require a full motion capture setup. Movision Labs sits between those needs: it gives students a visual entry point and gives instructors structured signals for assignments.